BestFitFinder is supported by its audience. When you purchase using link in our website, we may earn an affiliate commission. Learn more
Embarking on the journey of nature photography is an exciting endeavour that brings you closer to the marvels of the natural world. It’s not just about capturing images, but also about the extraordinary experience of observing and appreciating nature’s diversity. Whether I’m waiting for the perfect light to caress a landscape or I’m witnessing the candid behaviours of wildlife, the process is as enriching as the outcome. To begin, familiarizing myself with the right gear and learning to harness the potential of my camera is indispensable.
Understanding the principles of composition breathes life into my photographs, transforming them from simple snapshots to profound artistry. It’s essential for me to pay attention to the elements within the frame, the interplay of light and shadow, and the overall balance of the scene. Venturing outdoors with my camera prompts a continuous learning curve, one where each hike or nature walk presents unique challenges and opportunities for growth. Moreover, refining my skills in post-processing equips me to polish my images, ensuring the emotions and stories I encountered in the wilderness shine through.
Key Takeaways
- Nature photography is a rewarding experience that combines art with appreciation for the natural world.
- Essential gear and mastery over camera settings serve as the foundation for capturing stunning images.
- Composition, exploration, and post-processing are key to creating impactful and memorable photographs.
Getting Equipped
To capture the beauty of the natural world effectively, I ensure that I’m equipped with the right camera and lenses, plus a handful of essential accessories. These tools not only enhance the quality of my photographs but also ensure that I can handle the unpredictable nature of outdoor photography.
Choosing the Right Camera and Lenses
When I set off into nature with the intention to photograph, my camera is my trusty companion. Through experience, I’ve learned that a DSLR camera offers excellent image quality and versatility, with their range of settings well-suited for the varying conditions outdoors. Alternatively, mirrorless cameras provide an equally compelling choice with their compact size and lighter weight, making them ideal for long hikes.
For lenses, here’s what’s typically in my kit:
- Wide-Angle Lens: Perfect for capturing landscapes and expansive scenes.
- Telephoto Lens: For those distant wildlife shots where closeness isn’t an option, a lens with a focal length of at least 200mm is beneficial.
- Zoom Lens: To adjust my framing on the fly without changing lenses.
- Macro Lens: When I’m fascinated by the tiny details of nature, such as insects or flowers, a macro lens becomes indispensable.
Essential Accessories for Nature Photography
Beyond the camera and lenses, a selection of essential accessories can make or break a photography session in the wilderness. My go-to gear includes:
- Tripod: A sturdy tripod is invaluable, especially for sharp long-exposure shots and stable telephoto use. I prefer one that’s lightweight yet robust.
- Waterproof Bag/Cover: Nature is unpredictable, so it’s wise to have waterproof protection for my gear.
Here’s a brief list of what I typically pack:
- Extra Batteries and Memory Cards: Because running out of power or storage is never an option.
- Lens Cloths and Air Blower: To keep my lenses free of dust and moisture.
- Remote Shutter Release: For those crisp shots without the blur from a camera shake.
By thoughtfully selecting my camera, lenses, and accessories, being prepared for my nature photography adventures becomes second nature.
Mastering Camera Settings
Navigating through camera settings can be complex, but mastering them is crucial for capturing stunning nature photos. Let’s dig into the specifics of exposure, lighting, and the interplay between focus and depth of field.
Understanding Exposure and Lighting
Exposure is a cornerstone of photography, reliant on three main pillars: shutter speed, aperture, and ISO. I always consider the environment first. In a dimly lit forest, I’ll open up the aperture or choose a slower shutter speed to let in more light. Conversely, on a bright day, I opt for a faster shutter speed or a smaller aperture to prevent overexposure.
- Shutter Speed: This controls how long the camera’s sensor is exposed to light. A fast shutter speed freezes action, perfect for capturing birds mid-flight, while a slower speed can create a motion blur, illustrating the wind’s dance through a meadow.
- Aperture Priority Mode: I often use this mode as it allows me to control depth of field while the camera automatically adjusts the shutter speed. In landscape photography, setting a higher f-number (like f/16) keeps the foreground and background in sharp focus.
Focusing Techniques and Depth of Field
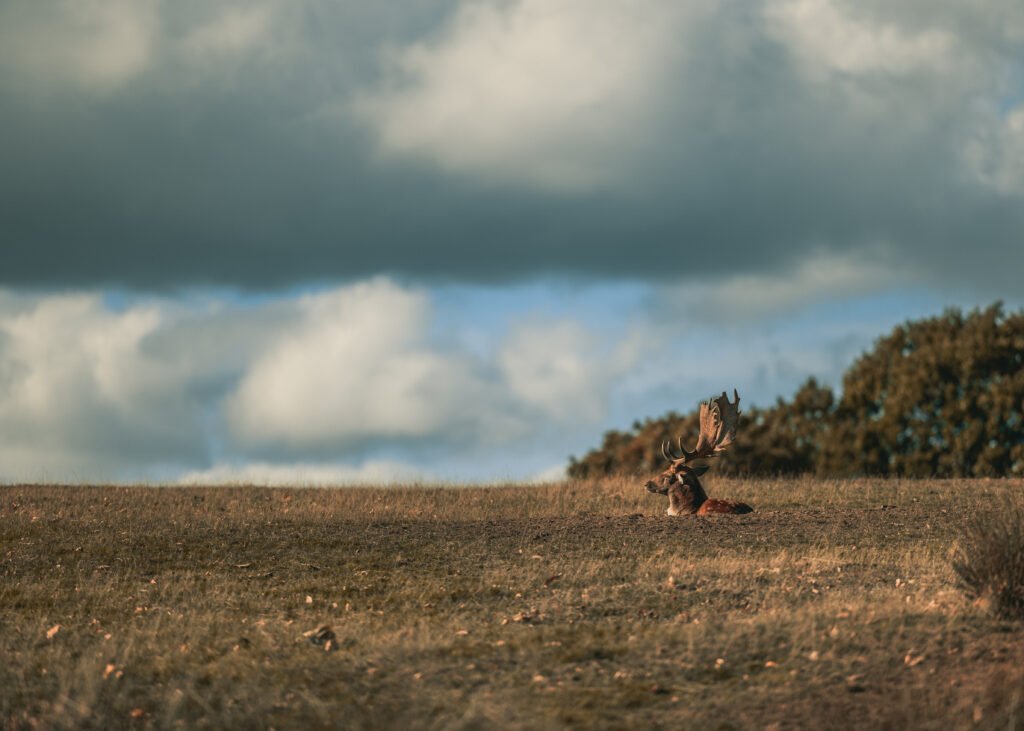
Focusing correctly is essential, as it dictates what the viewer’s eye is drawn to. When photographing a subject like a deer among the trees, I use a wider aperture (low f-number) to create a shallow depth of field, which keeps the deer in focus while the background blurs softly.
- Depth of Field: It’s all about the relationship between distance, focal length, and aperture. A small aperture (high f-number) renders most of the scene in focus, whereas a large aperture (low f-number) isolates the subject against a blurred background.
- Camera Settings: I always remember to align my camera’s focus points with the subject to ensure sharp clarity. Experimenting with manual focus can be rewarding, especially in tricky lighting where automatic focus might struggle.
By truly grasping these concepts, anyone can start to fine-tune their camera settings for nature photography, enhancing their creative control and the impact of their images.
Composition and Design
When I step into the wild to capture its beauty, I know that the essence of great nature photography lies in understanding composition and design. It’s about how I arrange the elements in my viewfinder to guide the viewer’s eye and evoke emotion.
Art of Framing and Perspective
Framing in photography is not just about what I include in my shot, but equally about what I choose to leave out. I often look for natural frames like trees or archways to enclose my subject, which helps to isolate it and draw attention. Perspective is key as well; crouching low can make small subjects monumental, while shooting from higher up can offer a more comprehensive view of the landscape.
- Leading lines: Paths, rivers, or branches that guide the eye
- Depth of field: A sharp subject against a blurred background
- Rule of thirds: Imaginary grid lines that help me balance my shot
Creative Use of Natural Elements
I love playing with the textures and patterns found in nature to enhance my compositions. For example, the repeating patterns of a leaf’s veins can create a stunning abstract. It’s often about the artistic choices I make, like using the golden hour light for warmer tones or the blue hour for cooler shades that give my photos a unique character.
- Layers: Overlapping elements that add depth and intrigue
- Composition techniques: Symmetry, asymmetry, or framing within a frame
- Natural elements: Incorporating weather elements like fog or rain
In my experience, the rule of thirds is a helpful guideline, but I’m not afraid to break it for a more dynamic composition. By paying attention to these details, I craft images that resonate with the vibrant energy of the natural world.
Exploring the Great Outdoors
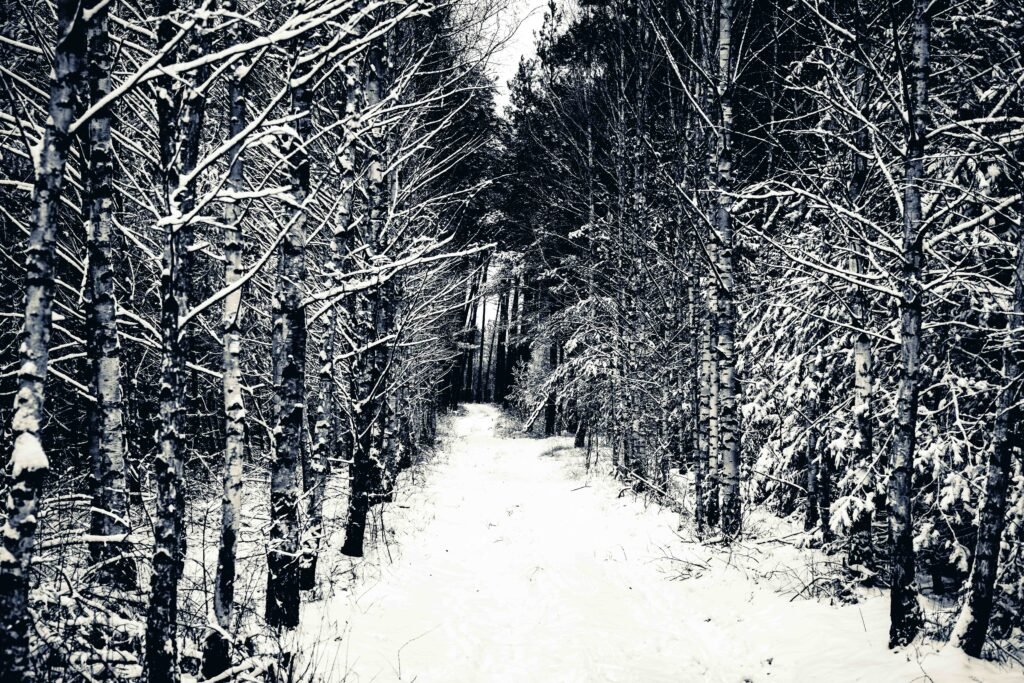
When I step into nature with my camera, it’s like embarking on a treasure hunt. The right location and time can turn a simple photo into a breathtaking masterpiece, and my aim is to help you find your gold.
Finding the Perfect Location
I always start my photography adventures in areas rife with natural beauty, often beginning close to home. My favorite spots are those with a variety of elements like water bodies, dense forests, or sprawling vistas. Local parks can surprise you with their photogenic spots, but for a truly majestic frame, I sometimes venture into a national park. Here, well-marked trails can lead me to viewpoints that offer a fresh perspective, combining waterfalls, rivers, or lakes with the lushness of the outdoor environment.
Best Times for Nature Shots
The magic of lighting plays a pivotal role in outdoor photography. For me, the golden hours of sunrise and sunset provide the most dramatic and soft lighting that can elevate a nature photograph from good to unforgettable. At these times, the changing light casts a golden hue that’s perfect for capturing the serenity of the scene. I pay close attention to the time of day, planning my outings so I arrive at my chosen location well before the golden hours begin, allowing me time to set up and compose my shot as the light shifts.
Post-Processing and Sharing
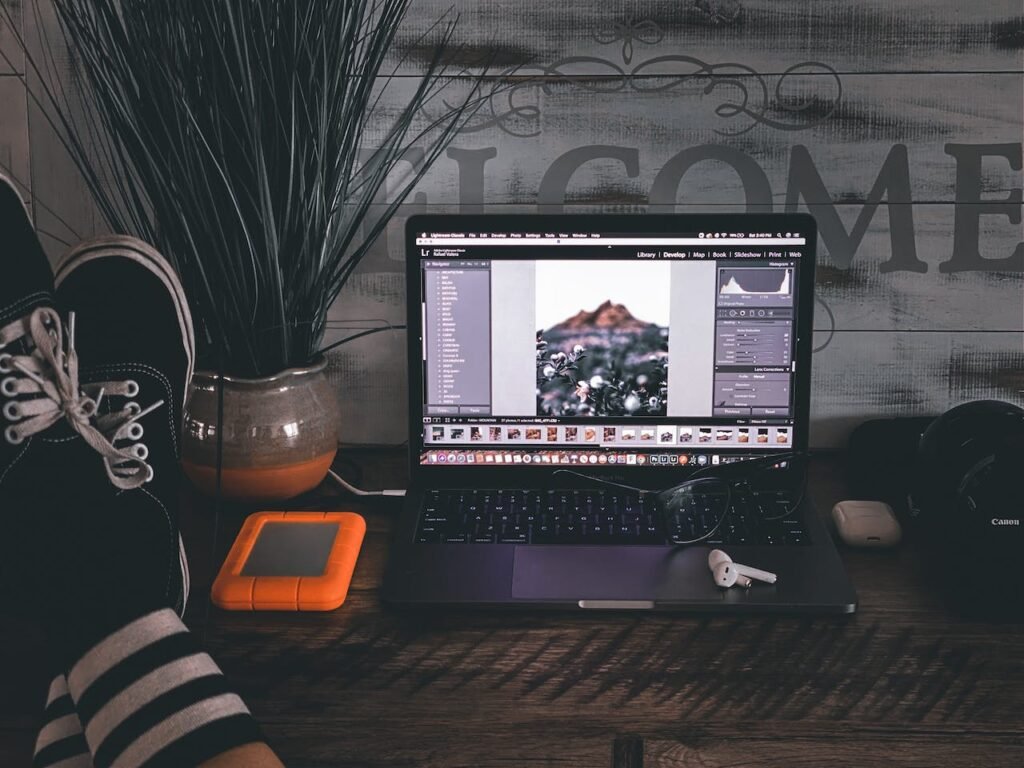
After capturing the beauty of nature through your lens, the journey continues into the world of post-processing and sharing. Here’s where I fine-tune images and connect with fellow photography enthusiasts.
Editing Techniques to Enhance Your Photos
Editing is a crucial step to breathe life into my photos, making the colors pop and details more defined. I start with adjusting the white balance for accuracy, tweak the exposure to brighten shadows or darken highlights, and enhance colors through saturation or vibrance for that extra punch. Techniques such as selective sharpening allow me to draw attention to certain aspects of the photo. For example, a slight increase in contrast can make those wilderness shots look more dramatic. I often refer to expert advice from Visual Wilderness for improving my workflow.
Key Steps in my Editing Workflow:
- Adjust white balance for color accuracy
- Tweak exposure to enhance details
- Increase saturation/vibrance to make colors pop
- Apply selective sharpening to focus attention
Building an Audience on Platforms Like Instagram
Instagram has been my go-to platform to share my work and build an audience. It’s all about creating a consistent style that reflects who I am – this helps people recognize my work instantly. I curate my feed carefully, ensuring that each photo fits well with the ones around it, creating a cohesive gallery that tells a story. Engaging with my followers through comments, stories, and direct messages has been invaluable for fostering a community. To learn more about optimizing my nature photography for sharing, I consult resources like Digital Photography School, keeping my skills sharp and my content engaging.
Instagram Checklist:
- Consistent editing style
- Curated, cohesive gallery
- Engage actively with followers
- Share stories to connect on a personal level
Frequently Asked Questions
In this section, I’ll clear up some common queries about beginning with nature photography. Whether you’re wondering about equipment, smartphones, making a living, or just getting started, I’ve got the answers to get you on the right track.
What equipment do I need to begin with nature photography?
To start with nature photography, a DSLR camera with a wide-angle and zoom lens is ideal due to its versatility in capturing both vast landscapes and intricate details. However, you can also create stunning images using a standard camera or a smartphone.
What are some essential tips for taking great photos with a smartphone in nature?
When using a smartphone, focus on composition and lighting to compensate for the lack of advanced controls. Smartphones can capture beautiful images in nature, so use your phone’s grid feature to aid in composition, and try to shoot during golden hour for the best natural lighting.
Can you make a living from nature photography, and if so, how?
Yes, it’s possible to make a living from nature photography by selling prints, licensing images, conducting workshops, or working for publications. Persistence, skill development, and networking are crucial for success in this field. You can read our article ‘Making Bank While Capturing Scenic Views: Landscape Photography for Profit 2024‘
Where can I find comprehensive courses to learn about wildlife photography?
Comprehensive courses on wildlife photography can be accessed through various platforms. Digital Photography School offers a guide that includes tips for beginners eager to learn about the essential aspects of capturing wildlife.
What settings are recommended for capturing wildlife photographs?
For wildlife photography, fast shutter speeds are essential to freeze motion, a mid-range aperture will give a good depth of field, and ISO should be adjusted to cope with changing light conditions while controlling noise.
As a beginner, what should I know before venturing into nature photography?
Before heading out, research your subjects and locations to anticipate potential shots. Understanding basic camera settings and natural behaviour of wildlife is also important. Remember, doing your homework enhances your chances of capturing that perfect moment in nature.




Pingback: "Lenses for Product Photography: 7 Recommended lenses" - Best Fit Finder